
Glock 21 Slide Takedown

In this Instructable I will demonstrate how to disassemble the slide of a Glock 21.
The Glock 21 is chambered for .45 ACP. For safety purposes, I recommend not having a round in the chamber while not actively using the pistol
Step 1: Safety


The first thing you must do is drop the magazine. Because this is my carry weapon, the magazine is full of high-performance HP rounds. Then you are going to lock the slide back, and examine to the chamber to ensure it is empty.
Step 2: Remove the Slide

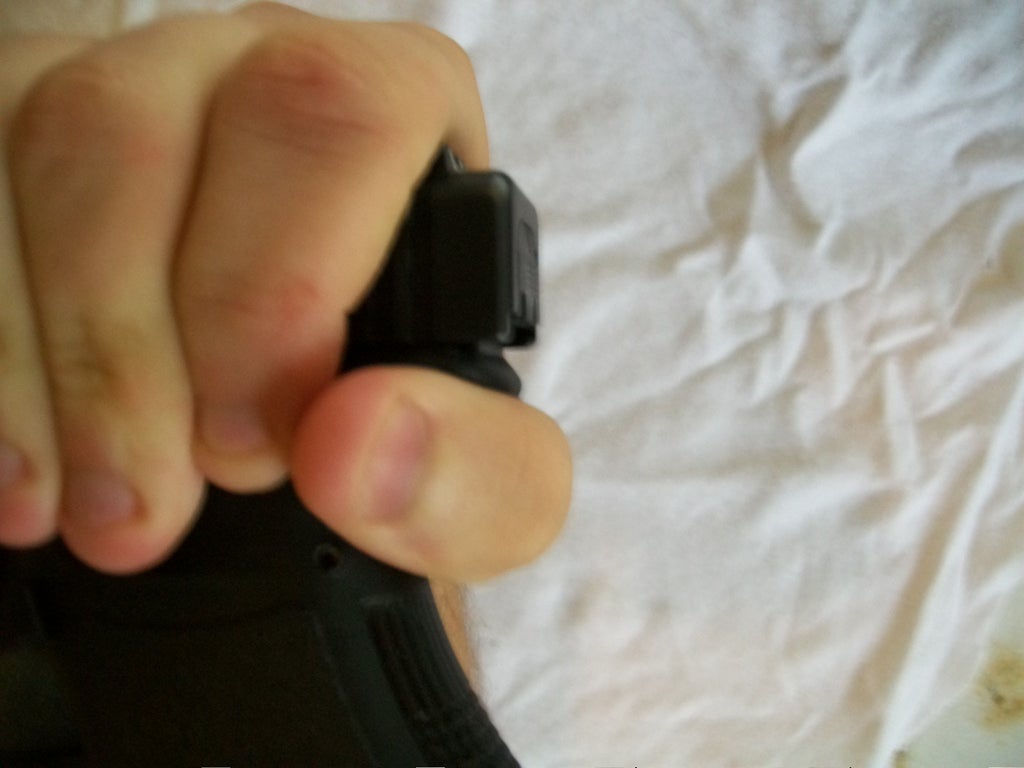
Then you will allow the slide to move forward, and pull the trigger, which moves all components of the trigger out of the way of the frame.
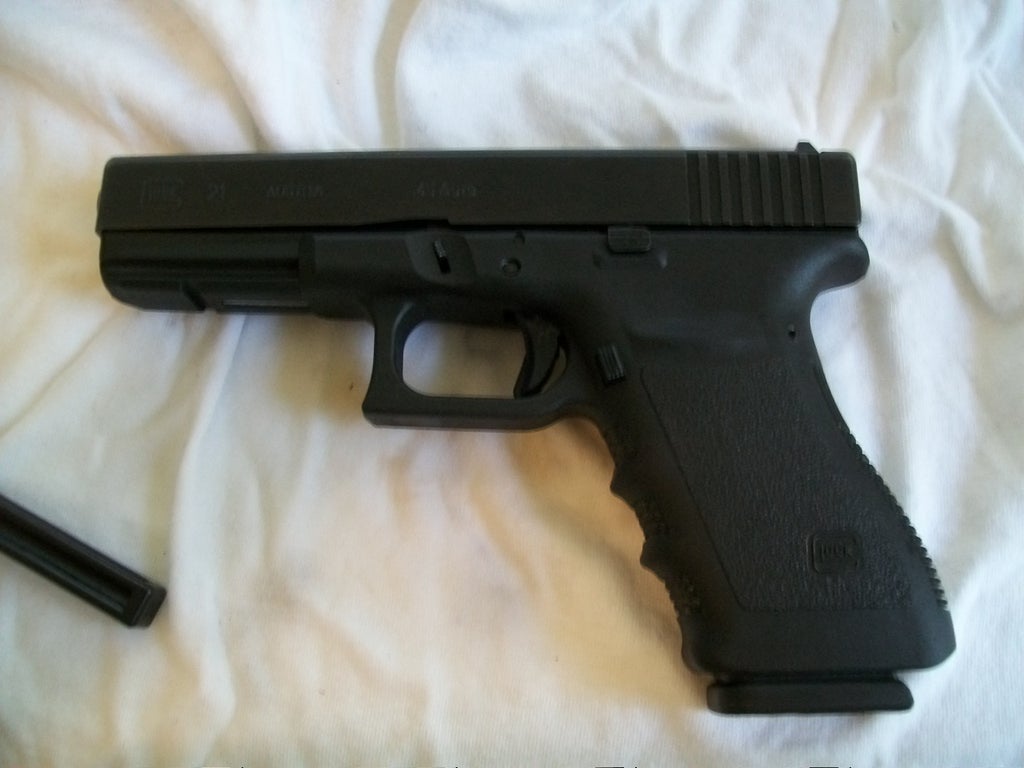
Then gripping the pistol a shown in the second picture, slightly pull the slide back until you meet resistance. This will allow you to pull down the takedown lever, which is shown above the trigger guard. Pull both sides down, and pull the slide forward.
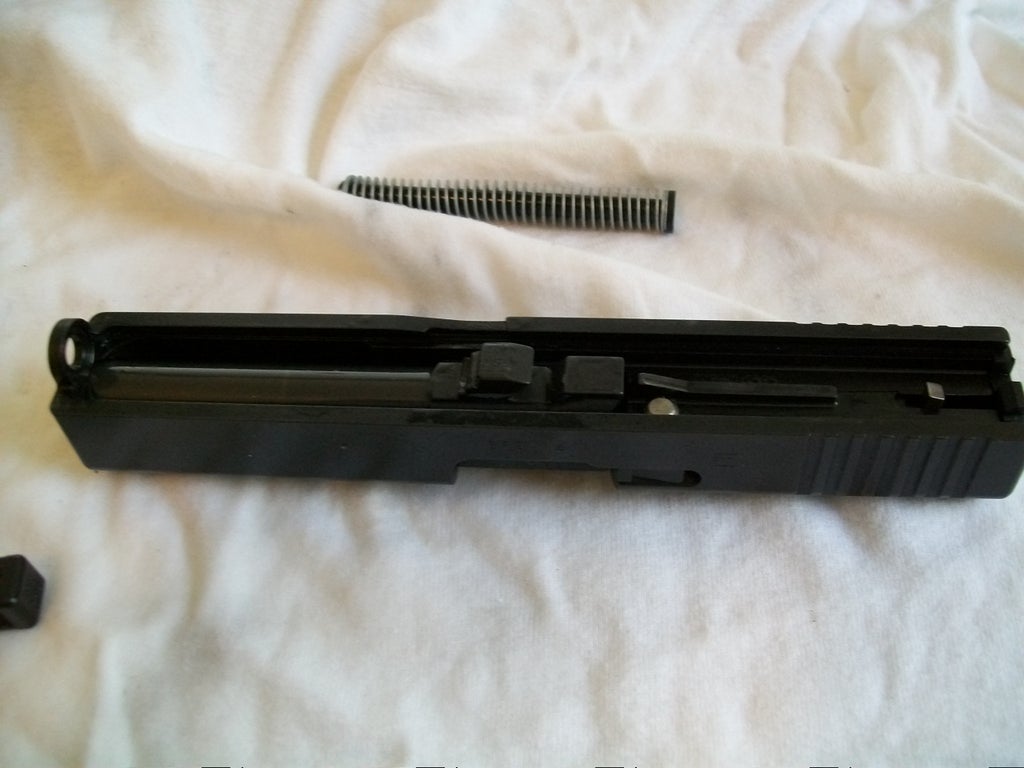
Step 3: What the Frame Looks Like
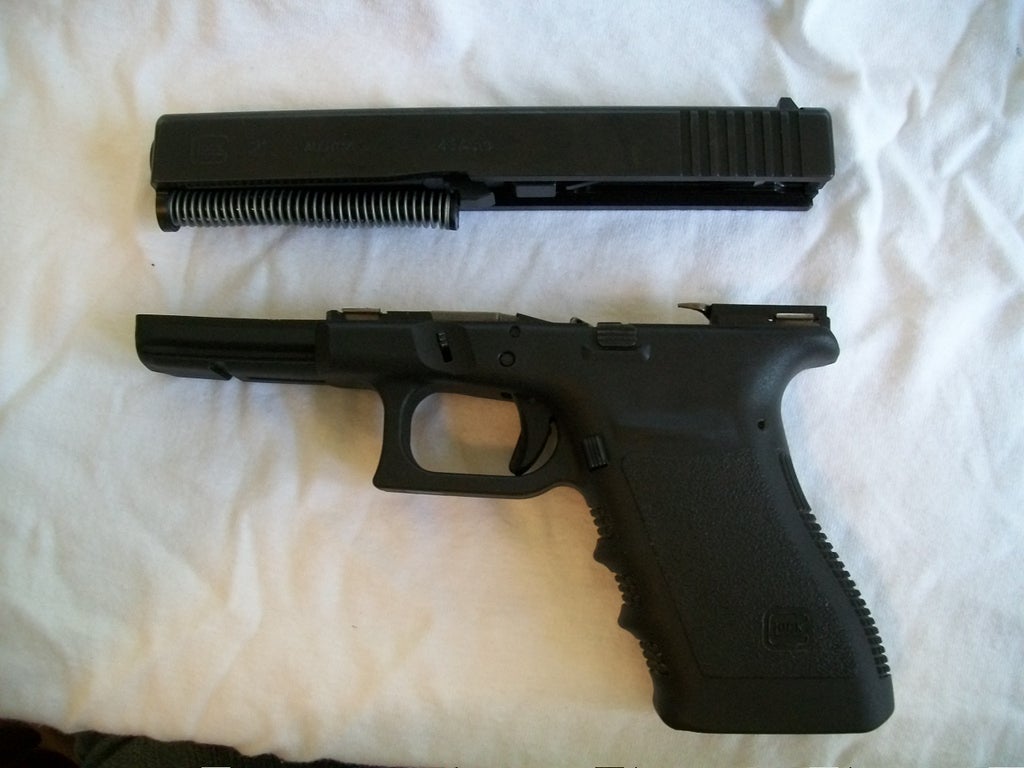
Now the pistol is in two pieces, the frame and the slide. In the second picture you can see the 2 sets of rails that the slide moves along, as well as the trigger group in the back of the frame.
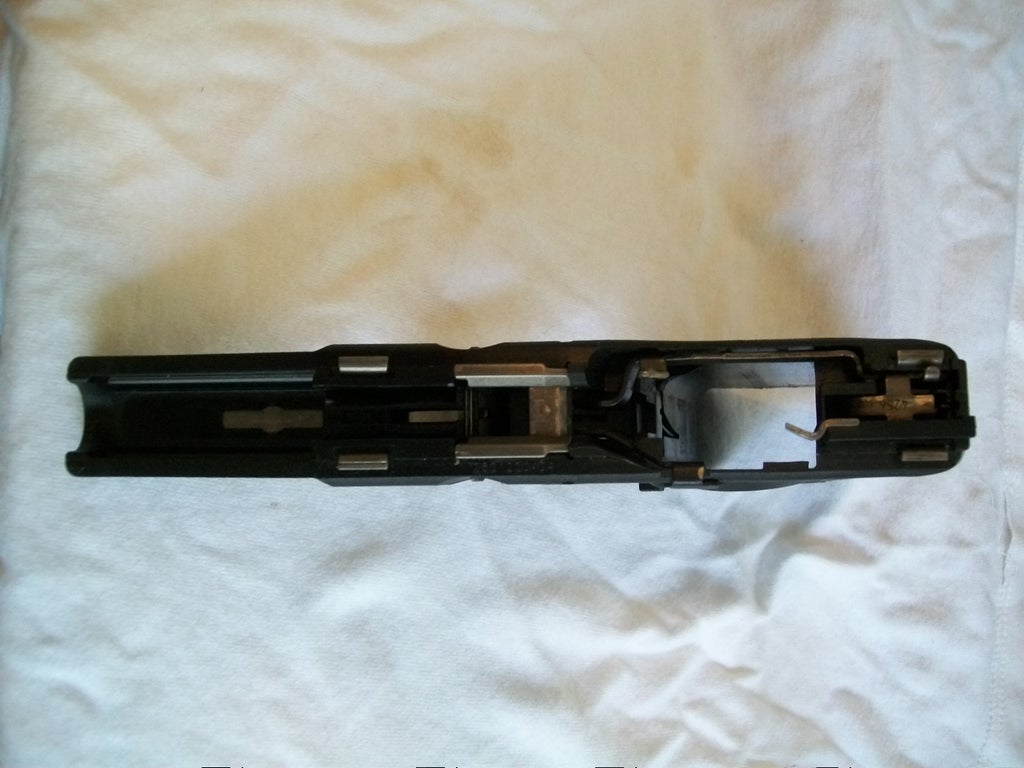
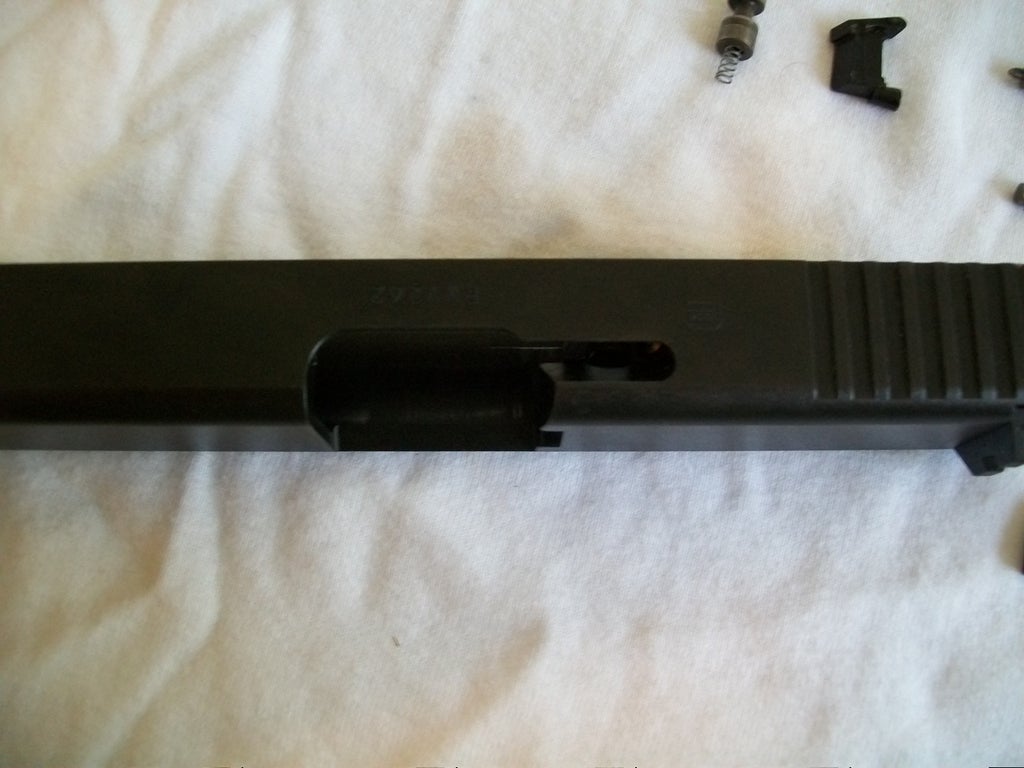
Step 4: What the Slide Looks Like

This is the underside of the slide. For disassembly beyond a simple field strip, I suggest getting a Glock disassembly tool. Very inexpensive and very useful.
Step 5: Remove Recoil Spring and Barrel


You just have to pull them off.
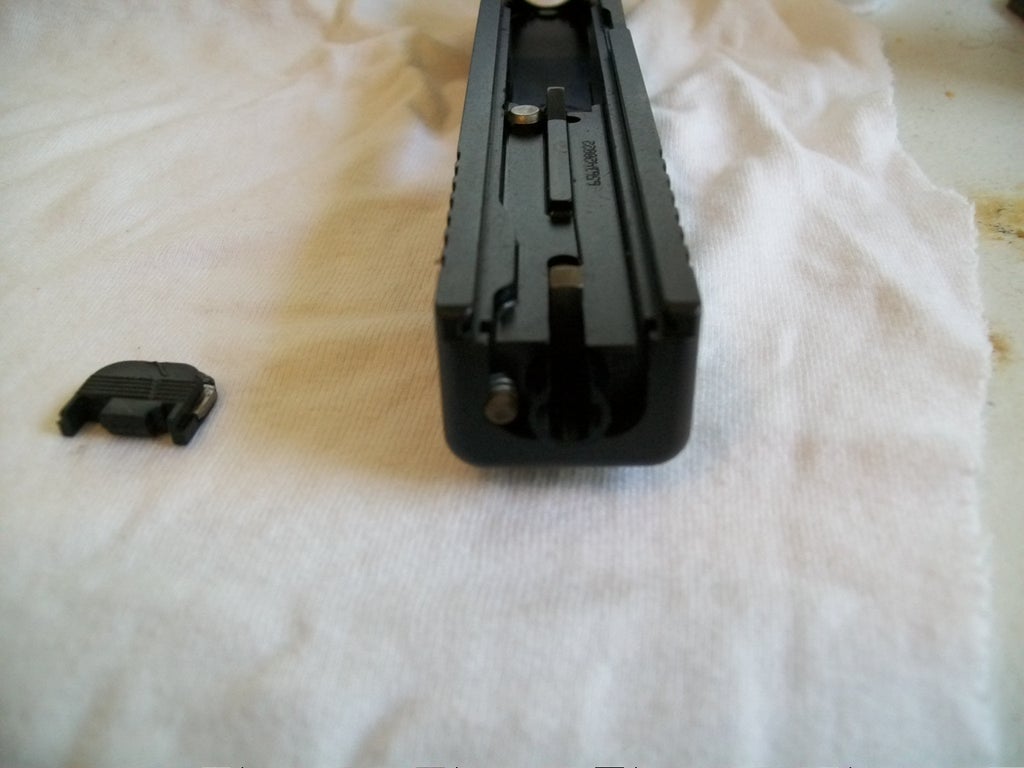
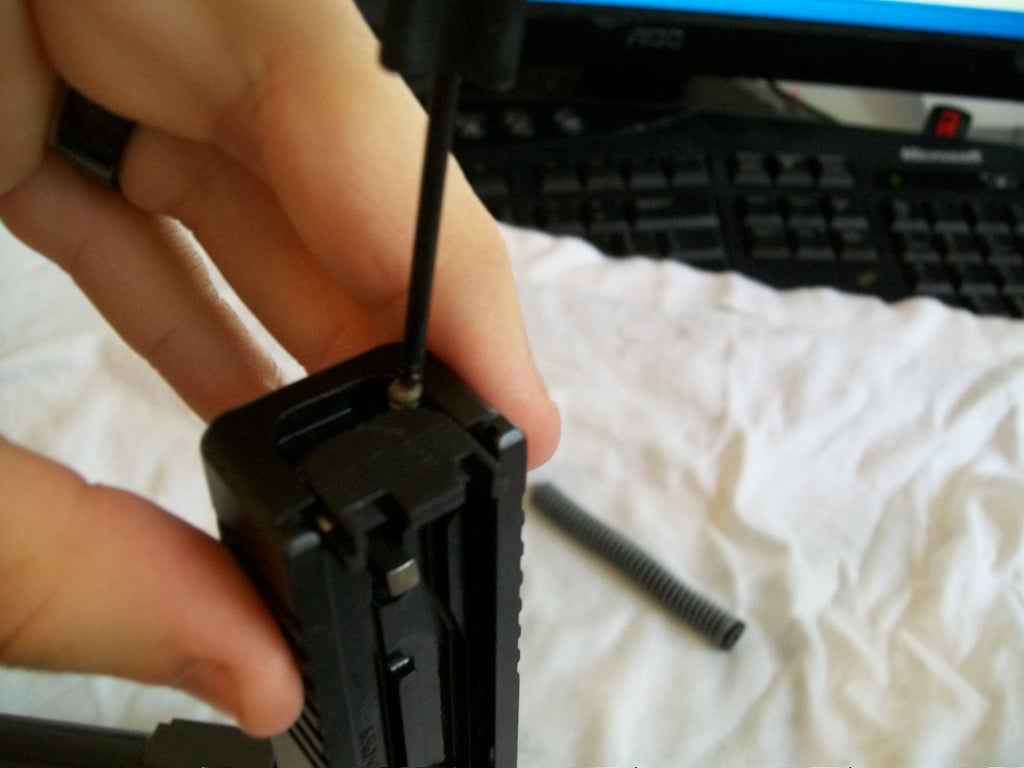
Step 6: Remove Backplate
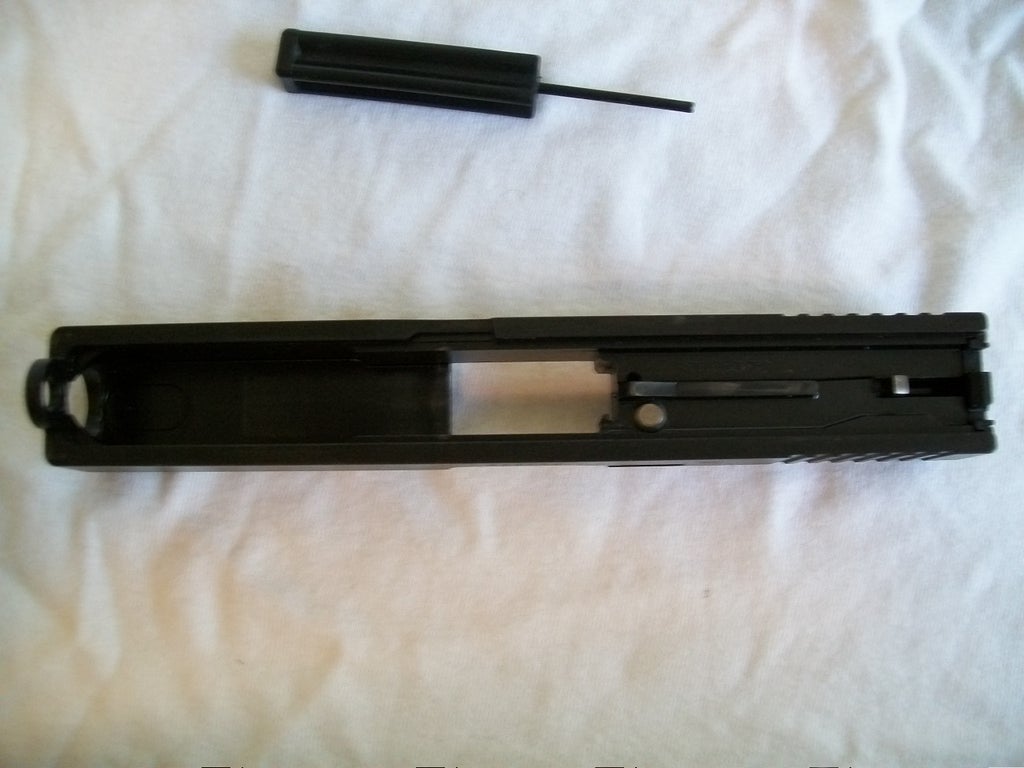


Once the spring and barrel are removed, turn your attention to the area in the second picture. In that little space below the metal flange, insert something stiff enough to push it froward, as in the third picture. Once this is done you can pull the backplate off of the slide, allowing to to remove the small components inside.
Step 7: Pull Out the Internals

Then remove the two assemblies that are sticking out.
Step 8: Remove Extractor


Next, hold the round bearing down when you pull out the extractor, or it will fly in your face.
Step 9: The Disassembled Slide


Now all the pieces are out, and you may do what you need to, either clean them, inspect for damage, or switch out with other parts.
Step 10: Putting It Back Together


Assembly is the reverse of disassembly, so first, replace the extractor and the bearing. I prefer to push both in at once until they catch, it’s easier and faster than doing them individually.
Then put the firing pin assembly and extractor rod back in, spring side out.
Then, using your tool, push the firing pin assembly into the slide until you can replace the backplate over it, then push the extractor rod back in until the backplate is back in its proper place.
Step 11: Spring and Barrel

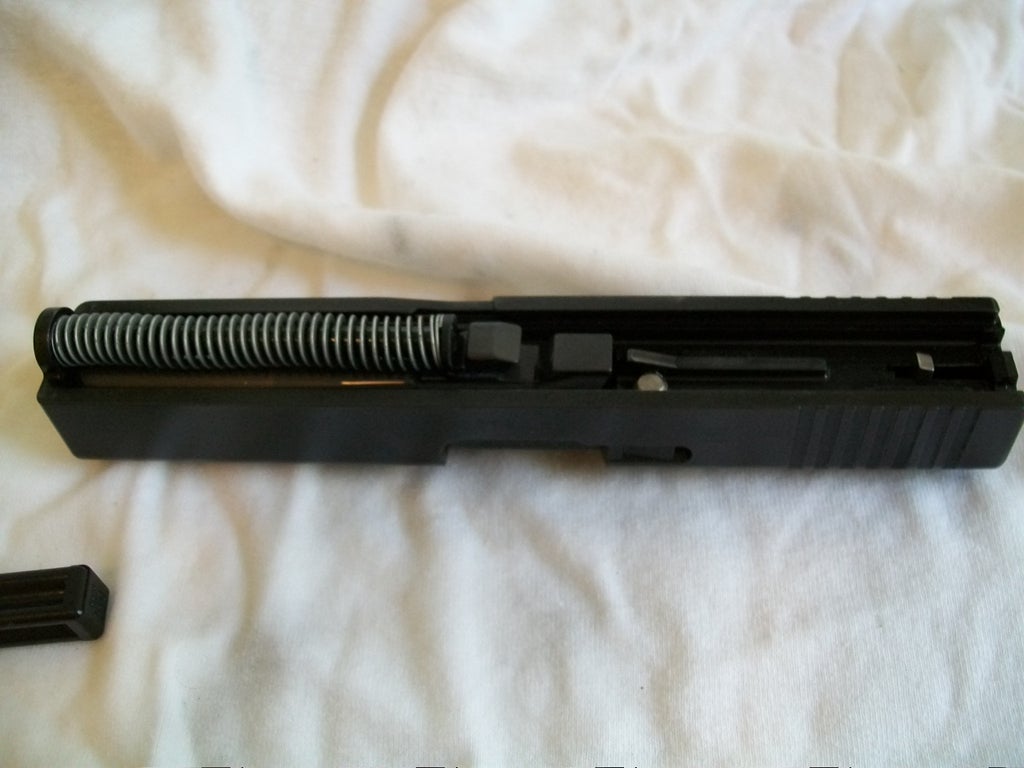
Replace the barrel as shown, and the recoil spring as well, ensuring that the spring catches onto the second groove of the barrel.
Step 12: Assemble Pistol


To put the slide back onto the frame, match the slots in the slide to the rails upon the frame, and slide it back all the way, as if you were chambering a round. Allow the slide to shoot forward, and pull the trigger. If you wish to replace the magazine at this point, you may do so.
That was the disassembly and reassembly of the Glock 21 slide.